Have you ever shopped for a pistol holster, only to find that they all look the same: plain brown leather or boring black kydex? Perhaps you’re having cashflow problems and those handcrafted leather holsters are out of reach right now. Whether you want to express your individuality or just save some green, we’ve got you covered with this guide on how to make a gun holster out of duct tape.
This basic DIY holster design may even come in handy if you find yourself in a SHTF situation. You can never be too prepared, so let’s dive in.
Holster Making Materials
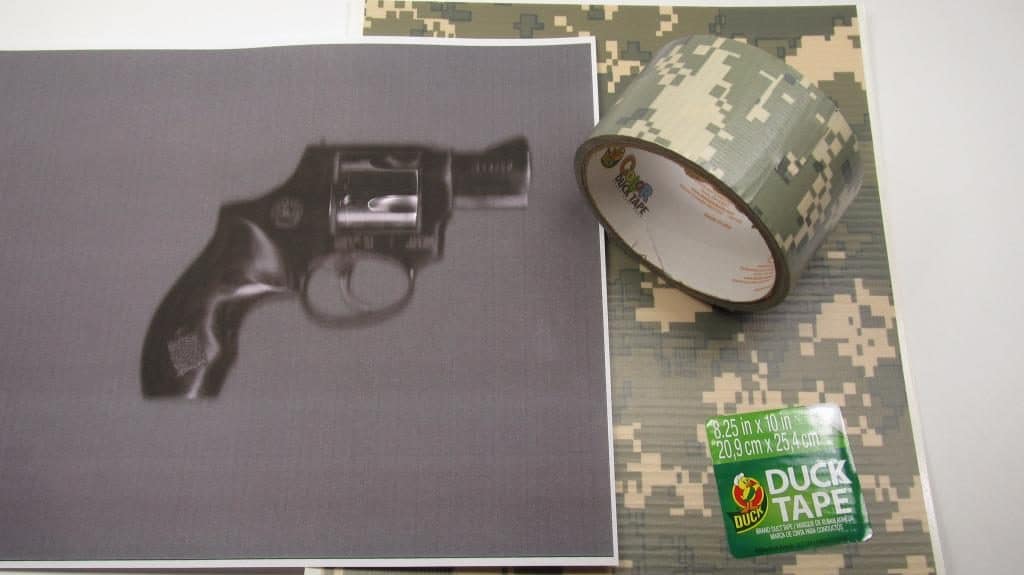
Duct tape – To make a gun holster out of duct tape, you’re going to need some duct tape! The Duck Brand tape comes in many colors and patterns. You can never go wrong with the classic silver either.
Manilla folder or other thin cardboard – You’ll need to make a template for your holster before you begin reinforcing it with duct tape. One of our goals is to make the holster sturdy enough that it doesn’t collapse on itself when you draw your gun, so I recommend using something with a little heft like a manila folder, thin poster board, or even card stock paper for the best result. I wouldn’t use cardboard from a box, though, because your final product will end up quite thick and bulky. Paper will do in a pinch (or a true SHTF situation) but isn’t ideal.
Pencil, pen, or marker – You’ll be tracing your firearm to properly size the holster. Any writing tool will do.
Scissors – Any sharp pair will work to cut out the pattern and cut your duct tape.
Optional: a belt and a ruler – If you’d like to carry the holster on your belt, you’ll need your preferred belt, or the widest one you’ll wear if you want to be able to wear the holster on different belts.
Related: Best Holster For SIG P226
How to Make a Gun Holster Out of Duct Tape: Step by Step
Step 1) Safety
Before beginning your holster, make sure your firearm is unloaded. Eject the clip, as you won’t be needing it for this tutorial, and make sure the chamber is empty. You’ll be manipulating the gun quite a bit, and we don’t want to risk any accidental discharges.
Step 2) Make Your Pattern
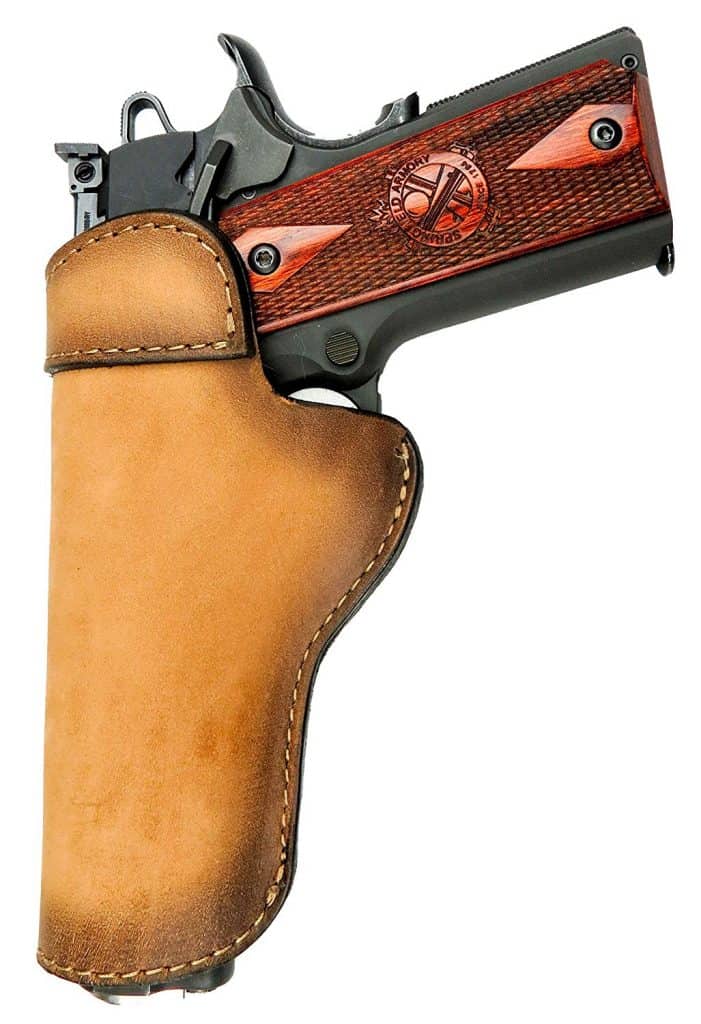
Our holster is going to be a sheath-style holster. At the end, I’ll include a step for how to add a belt loop, but the basic design is a sheath inspired by the Relentless Tactical 1911 holster shown above.
Start by laying out your manilla folder on a flat surface. Next, set your gun down on the folder so that the barrel is pointing upward toward the top of the folder and the gun grip is slightly off the bottom of the folder. You’ll want your holster to cover the trigger to avoid accidental discharges when you’re carrying it, so the bottom edge of the folder should be lined up so that it’s just covering the entire trigger.
Use your pencil to trace the outline of your gun. Now, without picking the gun up off of the folder, carefully roll it onto its other side so you can make the other half of the pattern. You’ll want the barrel to stay in contact with the folder at all times.
Check to make sure that the folder is still aligned with the bottom of your trigger, and then trace the gun again. Pick your gun up and set it aside. You’ll need to draw a short line where the end of your barrel sat to connect the two tracings. You should end up with a pattern that looks as close to identical as possible on both sides.
The next step of crafting your pattern is to draw a second line approximately 1/2 to 3/4 inch outside the one you just made. It doesn’t have to be exact, we just want a little extra room so that your firearm still fits inside once we add the duct tape and fold the holster closed. The final step to make your pattern is to cut it out along the outside line you’ve just drawn.
Step 3) Reinforce with Duct Tape
Once your pattern is cut out, you can begin reinforcing it with duct tape. Simply cover the pattern in strips of tape from top to bottom. Don’t worry about keeping the edges neat just yet. One layer at a time, add strips of duct tape until your entire pattern is covered on one side.
Next, you’ll use your scissors to trim off all of the excess tape on the edges of your pattern. Once you’ve done this, add a second layer of tape to that same side of the pattern. You’ll want between 2 and 4 layers of duct tape on each side of your pattern, depending on how durable you want your holster.
You’ll continue layering tape and cutting off the excess until each side of the pattern has 2 – 4 layers of duct tape. When you’re done, you should have a thick, sturdy, flat, holster.
Step 4) Fold and Seal
Set your gun back on the pattern and fold it to enclose your gun. We’re going to seal the edge of the holster with tape next, but first we need to make sure the size is right. Test by pinching the edge closed and drawing your gun out. It should be a snug fit so your pistol stays inside when you’re carrying.
If you find that the fit is too loose, trim just a little bit off the edges to shrink the holster to the correct size. Go slowly with this step and take just a little off at a time. If you get ahead of yourself and trim too much, the holster will be too tight and you’ll have to start over.
Once you have your holster perfectly sized, you can set your gun aside again. Using short pieces of tape, begin wrapping the edge of the holster. It won’t be a straight line, so short pieces of tape are easier to work with. It’s up to you whether you want to seal the end of the holster, or if you want to leave the end of the barrel exposed.
At this point, you have a completed sheath. Test the fit one more time. If your gun is snug, but drawable, you can end your project here. The sheath will protect your gun from scratches and can be used for carrying in a pant or jacket pocket.
Step 5) Adding a loop
If you prefer to carry your gun on your belt rather than in a pocket, you can easily make a loop to add to the holster. Measure an amount of folder long enough to wrap around the width of your belt. You want to have enough for it to slide on easily, so give yourself just a little extra length. If your belt is 1.5 inches wide, measure about 3.25 inches total of folder.
The width of the loop is up to you, but my preference is about half the width of the roll of duct tape, which will be slightly under one inch. This will give you some strength without being too wide and bulky. Cut out the loop pattern.
Once you have your pattern, wrap it in tape. The quickest way to do this is to line up your pattern with the edge of the tape and then fold the tape over onto the other side of the pattern, wrapping it like a little taco. To close the loop, simply put the edges together and wrap an additional piece of tape around to seal the edges.
Before attaching the loop, put your gun back into the holster. Then, lay the loop on top of the holster. Slide one end of a piece of tape through the holster and, for ultimate security, wrap the tape all the way around the holster at least once. You’ll want to make sure your gun is inside the holster for this step so you don’t accidentally wrap the tape too tight and shrink it.
Step 6) Take your holster out on the town
You’re all done with the basic design, so take it for a test ride!
Related:Best IWB Holster for XDS
Related Questions
What if I want a sweat shield? To add a sweat shield, trace further up the side of the gun that will be against your body and cut the pattern to accommodate for the extra height on one side. You may want to reinforce this section with just a little extra duct tape to make sure it doesn’t wilt over time.
Can I attach a clip to the holster? Sure can! Duct tape is strong, so just tack it down. You may have to refresh the tape over time if it gets loose though.
Is there a way to add retention to keep the gun in place? Although you shouldn’t need it if you sized your sheath properly, you can certainly add retention to the holster. You could make a half-moon loop for the end of the sheath. Secure one side of the moon with tape and use a small piece of velcro on the other side so you can open and close it.
Related: How To Make a Concealed and Carry Holster
Conclusion
We hope you enjoyed this tutorial showing you how to make a gun holster out of duct tape. Now you’re prepared to quickly and easily make duct tape holsters for all of your firearms. Feel free to get creative and make your holster as complex or as basic as you’d like. Whether you’re on a budget, in a bind, or just in search of something to suit your style, give this tutorial a try.
If you enjoyed this article you’ll probably like these: