It’s an exciting thing to get any brand new piece of equipment for your rifle, but a new scope tops it. It’s such an important addition that can make or break your hunt and can be very expensive as well.
It goes without saying that when you’re out shooting in any application and your reticle breaks free and spins it can be anywhere from frustrating to downright heartbreaking! Don’t worry. A spinning reticle is actually not a difficult problem to fix and can be done quickly with items you already have laying around your home. This guide will show you step-by-step how to fix the cross-hairs on a scope.
items needed for this tutorial
A Toothpick – Most people have some of these laying around somewhere in the kitchen. You will use this to thinly distribute the glue around the reticle ring without getting glue all over other stuff inside the scope. It’s very important that the glue stays right where it needs to go, or else you can damage your scope instead of doctoring it.
Super Glue Or Epoxy – Either one of these will work. You just need one that is strong holding and permanent and can be distributed in tiny increments instead of in a big blob. Clear in color is also best. Clear Gorilla Glue or red Loctite work great. Also, you can get metal jewelry epoxy at your local craft store. This works well too.
How To Fix Cross-Hairs On A Scope
Remember that this is an easy fix, but if you have a very expensive scope or one with a great warranty, you may want to send it in to be fixed. This method is great for fixing the reticle if you don’t have time to send the scope off and wait for it to come back, if you don’t have a warranty on the scope, or if you just don’t want to. Be sure to keep your glue job clean and you won’t have to worry about sending it away anyway.
Step 1 – Unscrew The Eyepiece
First, you want to locate the split near the eyepiece that indicates where the eyepiece attaches to the scope body. This part of the scope just screws in. You want to carefully unscrew it. It will be tight, possibly very tight, but you should be able to finally free it just by hand.
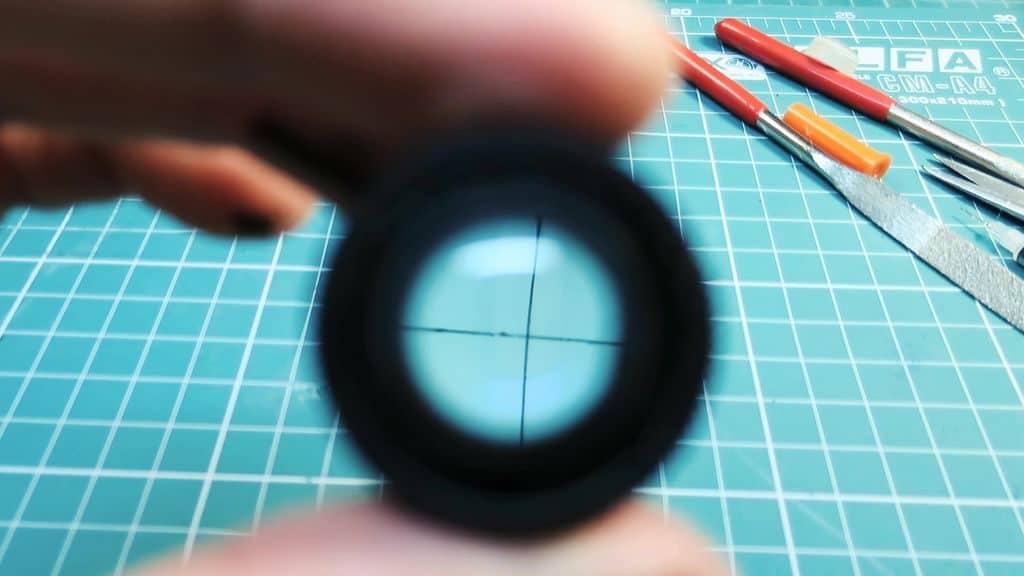
Step 2 – Rotate The Reticle
After removing the eyepiece, you should see your reticle attached to a little brass ring in the body piece of the scope. Very gently rotate this until it is as level as possible. There should be notches and also the windage and elevation knobs can be used as a reference to be sure your reticle is straight up and down. If you need it, you can use the toothpick to help you rotate the ring into place.
Step 3 – Glue
Place a very small bead of glue or epoxy around the edge of the brass ring to bond it to the scope body so that it doesn’t rotate again. Use the toothpick to push and smear the glue out to where you want it.
Step 4 – Let Dry
Depending on the dry time for your glue, it may be a good idea to let this set overnight. Most epoxies will require this. Some of the super glues are quick drying, but you want the most permanent bond you can attain so you don’t have to worry about the reticle floating on you again. The longer the bond agent is allowed to dry, the stronger the bong will be.
Step 5 – Re-assemble
All that’s left for you to do now is screw the eyepiece back into place tightly. Double-check through your scope to make sure the reticle is perfectly aligned the way you need it.
It may be a good idea to make extra certain that your scope’s not being jostled around too much from the recoil by fully tightening down the scope rings and adding a dab of blue Loctite to the scope ring screws. This will hold the scope down more securely and you will be less likely to damage internal components of your scope.
Common Questions
Why would the reticle rotate? – There are more chances of the reticle rotating with cheaper made scopes or scopes made in China. Also, the abuse the scope takes as a result of heavy recoil could knock the bond free and cause a rotating reticle. This is why your scope should be very tightly secured with the scope rings. You want zero play in it.
When would I have to replace the cross-hairs? – If the cross-hairs are actually damaged or broken then you can either send the scope in for repair or attempt to replace your own cross-hairs. You would need very thin wire and some weights to hold the wires straight and perfectly aligned where you need them. Glue these onto the brass ring and let them sit overnight. When dry, trim the wire and follow the above steps to place the cross-hairs correctly in the scope.
Should I just send my scope to be repaired? – If you have an expensive scope with a good replace or repair warranty or a brand new scope, you may want to send it off for repair. Altering your scope yourself may void the warranty. But, this is a pretty easy method, so if you do not have time to send it away or have just a cheap scope, it would save you time and money to repair it yourself.
Conclusion
I hope you have found this guide to be useful and helpful and understand how to fix cross-hairs on a scope easily. Usually, the problem with faulty reticles is not beyond repair so try not to get too bent out of shape and just fix the problem! You’ll be back to shooting in no time.
If you enjoyed this article you’ll probably like these: